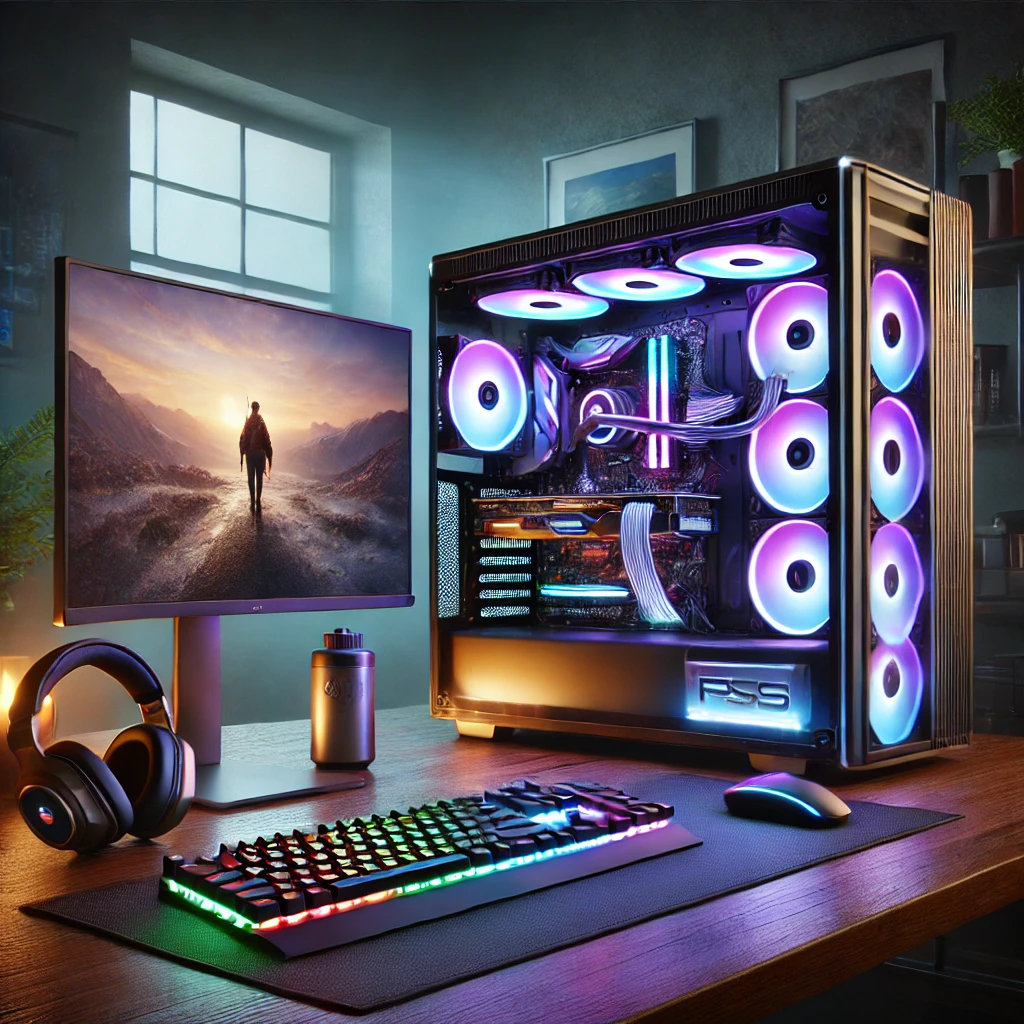
Building a custom gaming PC offers numerous benefits that can greatly enhance your gaming experience. Unlike pre-built systems, a DIY gaming PC allows you to select each component based on your specific needs and preferences, ensuring optimal performance for the games you love. This approach also enables greater upgradeability, as you can easily swap out parts as technology evolves or as your gaming requirements change. How to Build a Custom Gaming PC
Understanding the process of building a gaming PC is crucial for achieving the best results. Choosing the right components—such as the CPU, GPU, RAM, and storage—can significantly impact your system’s overall performance and longevity. With so many options available, knowing how to match parts for compatibility and performance can be daunting for beginners.
This article aims to provide a clear, step-by-step guide for those new to PC building. From selecting the best gaming PC components to the actual assembly process, we’ll walk you through each stage, ensuring you feel confident and prepared to build your own custom gaming rig. Whether you’re a casual gamer or aiming for competitive performance, this guide will set you on the right path to creating a powerful and personalized gaming experience.

Planning Your Build
Building a custom gaming PC starts with careful planning, which involves defining your gaming needs and researching the essential components.
A. Define Your Gaming Needs
Begin by considering the types of games you want to play. Are you into fast-paced first-person shooters, immersive role-playing games, or demanding simulation titles? Each genre has different system requirements, so understanding your gaming preferences will help you choose the right hardware. For instance, competitive gamers may prioritize a high refresh rate and low latency, while casual gamers might be satisfied with moderate settings. Additionally, determine your budget and performance expectations. Setting a realistic budget will guide your choices, allowing you to balance performance with affordability. Aim for a configuration that meets or exceeds the recommended specifications for your favorite games to ensure a smooth gaming experience.
B. Research Components
Once you’ve defined your gaming needs, it’s time to research the essential components of your custom gaming PC. The Central Processing Unit (CPU) is crucial for overall system performance and multitasking capabilities. The Graphics Processing Unit (GPU) is the heart of any gaming setup, directly affecting your gaming experience by rendering graphics and maintaining frame rates. The motherboard acts as the backbone, connecting all components, so ensure it’s compatible with your chosen CPU and GPU. RAM is also important; aim for at least 16GB for optimal gaming performance. Storage choices typically involve a combination of SSDs for speed and HDDs for larger capacities.
The power supply (PSU) must provide sufficient wattage and efficiency to support your components, while the case should offer adequate airflow and space for upgrades. Consider compatibility and future upgrade potential when choosing parts, as this will help you create a versatile and powerful gaming PC tailored to your specific gaming needs.
Essential Components for Your Custom Gaming PC
Building a custom gaming PC requires selecting the right components to ensure optimal performance. Here’s a breakdown of the essential components you’ll need:
A. Central Processing Unit (CPU)
The CPU is the brain of your gaming PC and plays a crucial role in overall performance. It handles all the calculations and tasks required for running games smoothly. For 2024, popular CPU options include the AMD Ryzen 5 7600X for mid-range builds and the Intel Core i9-13900K for high-end setups. These processors offer excellent performance, making them ideal choices for gamers looking to enhance their experience.
B. Graphics Processing Unit (GPU)
The GPU is vital for rendering graphics and impacts the visual quality and frame rates of games. For budget-conscious gamers, the NVIDIA GeForce RTX 3060 provides great performance at an affordable price. If you’re willing to invest more, the NVIDIA GeForce RTX 4080 is a top choice for enthusiasts wanting the best graphics experience.
C. Motherboard
The motherboard connects all components and determines compatibility. Features to consider include the chipset, number of RAM slots, and expansion options. Ensure the motherboard matches the CPU socket type and has adequate I/O ports for your needs.
D. Random Access Memory (RAM)
For gaming, a minimum of 16GB RAM is recommended. Dual-channel memory, which involves using two sticks of RAM, can enhance performance compared to single-channel setups, providing better bandwidth for your games.
E. Storage Options
When it comes to storage, SSDs offer significantly faster load times compared to HDDs. A combination of both can be effective, with a recommended SSD size of at least 500GB for your operating system and favorite games.
F. Power Supply Unit (PSU)
Choosing a reliable PSU is crucial, as it powers all components. Look for a PSU with at least 80 Plus Bronze certification. To determine wattage requirements, consider the combined power needs of your CPU and GPU, typically around 600-750 watts for most gaming builds.
G. Computer Case
Selecting the right case involves considering size, airflow, and aesthetics. Ensure your case has enough space for your components and effective cooling options. Good cable management enhances airflow, contributing to system stability and longevity.
These essential components form the backbone of your custom gaming PC, setting you up for a fantastic gaming experience.
Tools Needed for Building a Gaming PC
Building a custom gaming PC requires more than just components; having the right tools can make the process smoother and more efficient. Here’s a list of essential tools you’ll need to get started.
Essential Tools:
1. Screwdrivers: A set of Phillips and flathead screwdrivers is crucial for assembling your gaming PC. The Phillips screwdriver is particularly important for securing components like the motherboard and power supply.
2. Anti-Static Wrist Strap: This tool helps prevent static electricity from damaging sensitive components. Wearing an anti-static wrist strap while you build will ensure that you handle your hardware safely.
3. Zip Ties: These handy accessories are perfect for managing cables and keeping your workspace organized. Neat cable management not only improves airflow in your case but also enhances the overall appearance of your build.
4. Pliers: Needle-nose pliers can help in maneuvering and securing cables in tight spaces, making them a valuable addition to your toolkit.
5. Flashlight or Work Light: Adequate lighting is essential for seeing small components and connections, especially inside the case.
Optional Tools:
1. Magnetic Parts Tray: This tool is great for holding screws and small parts, ensuring they don’t get lost during the building process.
2. Thermal Paste Applicator: While most CPU coolers come with pre-applied thermal paste, having an applicator allows you to apply your own if necessary, ensuring optimal heat transfer.
3. Cable Management Clips: These clips can help further organize cables inside your case for a cleaner build.
4. Multimeter: If you want to test power supply voltages or troubleshoot issues, a multimeter can be an invaluable tool.
By gathering these essential and optional tools before starting your DIY gaming PC build, you’ll set yourself up for a successful and enjoyable assembly process.
Step-by-Step Building Process
A. Preparing Your Workspace
Before diving into your custom gaming PC build, it’s essential to set up a clean, organized workspace. Choose a flat surface free from clutter to prevent damage or loss of components. Lay out your tools and parts so they’re easily accessible, and consider using an anti-static wrist strap to protect sensitive components from static electricity.
B. Installing the CPU
To install the CPU, first, locate the CPU socket on the motherboard. Open the socket latch, align the CPU with the notches on the socket, and gently place it in without forcing it. Once seated, lower the latch to secure the CPU in place.
C. Installing RAM
Next, install the RAM sticks. Open the RAM slots by pushing the clips to the sides. Align the notch on the RAM stick with the slot and press down firmly until the clips click back into place, ensuring a secure connection.
D. Mounting the Motherboard
With the CPU and RAM installed, it’s time to mount the motherboard into the case. Align it with the standoffs in the case and secure it using screws. Make sure all ports are accessible from the back panel.
E. Installing the GPU
Insert the GPU into the appropriate PCIe slot on the motherboard, ensuring it’s securely connected. Once in place, connect any necessary power cables from the PSU to the GPU.
F. Installing Storage Drives
Mount the SSD or HDD in the designated drive bays and connect the SATA cables to the motherboard and power cables from the PSU.
G. Connecting the Power Supply
Carefully connect all necessary cables from the power supply to the motherboard, GPU, and drives. Ensure connections are secure to prevent issues later.
H. Managing Cables and Airflow
Take the time to manage your cables for better airflow and aesthetics. Use zip ties or Velcro straps to bundle cables and route them neatly behind the motherboard tray.
I. Final Assembly and Closing the Case
Finally, double-check that all components are secure and properly connected. Close the case, securing it with screws, and your custom gaming PC build is ready for its first boot!

First Boot and BIOS Setup
Once you’ve completed your custom gaming PC build, it’s time for the exciting moment: the first boot. Powering on your build is straightforward. Start by ensuring that all components are securely connected, including the power supply, motherboard, and peripherals. When you press the power button, you should hear the fans spin up, and the motherboard lights may illuminate. If everything is functioning correctly, your monitor will display the initial boot screen. If you encounter any issues, double-check all connections, as this is a common area for mistakes.
Next, you’ll want to enter the BIOS. This crucial step allows you to configure essential settings for your gaming PC. To access the BIOS, restart your computer and repeatedly press the designated key during the boot-up process; this is usually the Delete or F2 key, but it may vary by manufacturer. Once inside the BIOS, take a moment to familiarize yourself with the layout. You can adjust settings such as boot order, enabling XMP for RAM optimization, and checking the status of your CPU and GPU temperatures. Ensuring everything is recognized correctly is key to a smooth operating experience.
After configuring the BIOS, the next step is installing the operating system. Most users opt for Windows, as it is widely compatible with games and drivers. To install Windows, you’ll need a bootable USB drive or installation media. Insert the media, select it as the boot device in the BIOS, and follow the on-screen prompts to complete the installation. Once Windows is installed, don’t forget to download the latest drivers for your GPU, motherboard, and peripherals to ensure optimal performance. Additionally, consider installing essential software, such as game launchers and performance monitoring tools, to get the most out of your new custom gaming PC.
Post-Build Optimization
Once you’ve completed your custom gaming PC build the next crucial step is post-build optimization. This process ensures that your new system performs at its best and maintains longevity.
A. Testing Your Build
The first step in post-build optimization is testing your build to ensure everything is functioning correctly. Utilize tools like CPU-Z, HWMonitor, and MSI Afterburner for stress testing and monitoring temperatures. Stress testing your CPU and GPU can help identify any potential issues, such as overheating or instability under load. Aim to keep your CPU temperatures below 85°C and your GPU temperatures under 80°C during these tests. Monitoring software will provide real-time data, allowing you to make adjustments if necessary.
B. Optimizing Settings
After testing your build, it’s time to optimize settings for better performance and stability. Start by adjusting your BIOS settings, ensuring that XMP profiles for your RAM are enabled for optimal speed. In Windows, navigate to the power settings and set your plan to “High Performance” to maximize performance during gaming. Additionally, tweak in-game settings to strike a balance between visual fidelity and frame rates. Disabling unnecessary background applications can also help free up resources, enhancing gaming performance.
C. Regular Maintenance
Maintaining your gaming PC is essential for longevity and consistent performance. Schedule regular dusting to prevent buildup in fans and heatsinks, which can lead to overheating. Monitor system temperatures periodically using monitoring tools, and replace thermal paste on the CPU and GPU every few years to ensure effective heat dissipation. Keeping your operating system and drivers up to date is also vital for performance, as updates often include optimizations and bug fixes that enhance stability. By implementing these post-build optimization steps, you’ll enjoy a smoother, more reliable gaming experience for years to come.

Conclusion
Building a custom gaming PC can be a rewarding and empowering experience. Throughout this guide, we explored the essential steps involved in creating your own gaming rig, starting from defining your gaming needs and researching the best components to the actual assembly process. Key components such as the CPU, GPU, motherboard, RAM, storage, power supply, and case play crucial roles in determining your gaming performance, and understanding their functions is vital for a successful build.
As you embark on your DIY gaming PC journey, remember to embrace the learning experience. Each step in the building process not only enhances your technical skills but also allows you to tailor your setup to meet your gaming preferences. Don’t hesitate to seek help from online communities or forums if you encounter challenges along the way. Enjoy the satisfaction of assembling your machine and watch it come to life as you dive into the latest games. With patience and persistence, you’ll create a powerful custom gaming PC that delivers outstanding performance and longevity for years to come. Happy building!
FAQs for How to Build a Custom Gaming PC:
1. What components do I need to build a gaming PC?
To build a gaming PC, you’ll need a CPU, GPU, motherboard, RAM, storage (SSD or HDD), power supply unit (PSU), case, cooling system, and possibly extra fans. Each component plays a specific role in performance, so choosing compatible and high-quality parts is essential.
2. How much does it cost to build a custom gaming PC?
The cost of building a gaming PC varies depending on your goals. Budget builds can start around $500-$700, while high-performance setups may cost $1,500 or more. The quality of individual components directly impacts both cost and performance.
3. Is building a custom gaming PC difficult?
While building a PC may seem intimidating, it’s more about patience and attention to detail than technical skill. With a good guide, beginners can follow each step and successfully assemble a PC. Understanding the basics of each component helps, but no expert knowledge is required.
4. Can I upgrade my gaming PC in the future?
Yes, one of the main benefits of building a custom gaming PC is its upgrade potential. Components like RAM, GPU, storage, and even the CPU can often be upgraded without replacing the entire system, keeping it relevant for longer.
5. What tools do I need to build a gaming PC?
Building a PC requires basic tools like a Phillips-head screwdriver. Additional helpful items include an anti-static wristband to prevent static damage, cable ties for organization, and thermal paste if not pre-applied to the CPU cooler.


