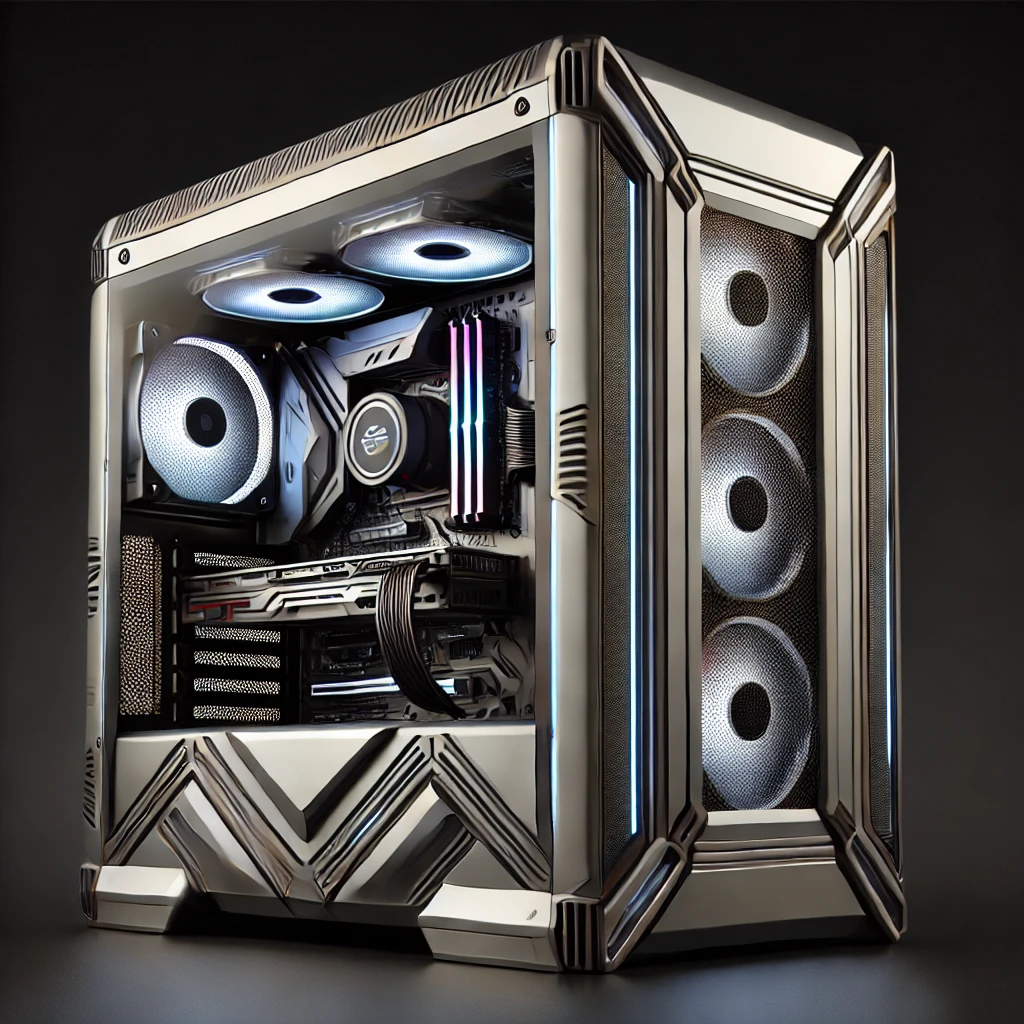
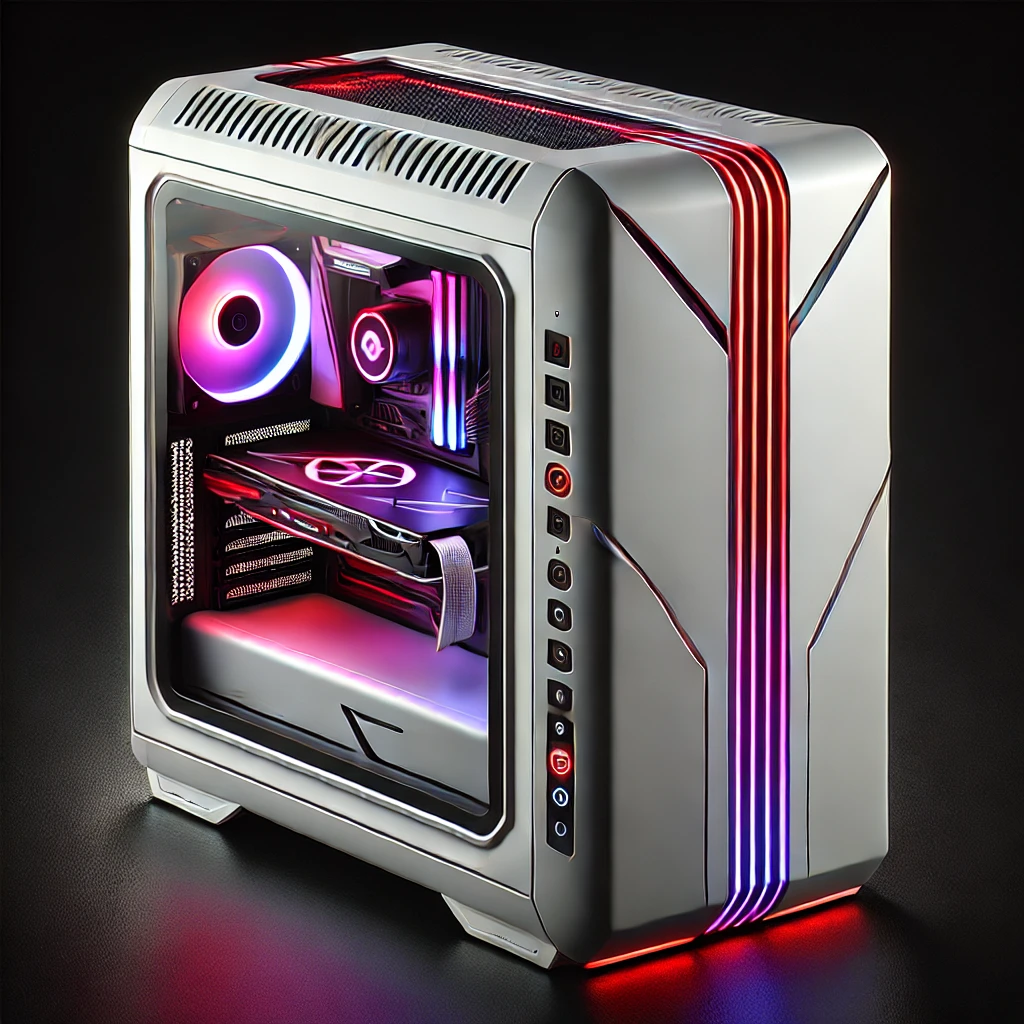
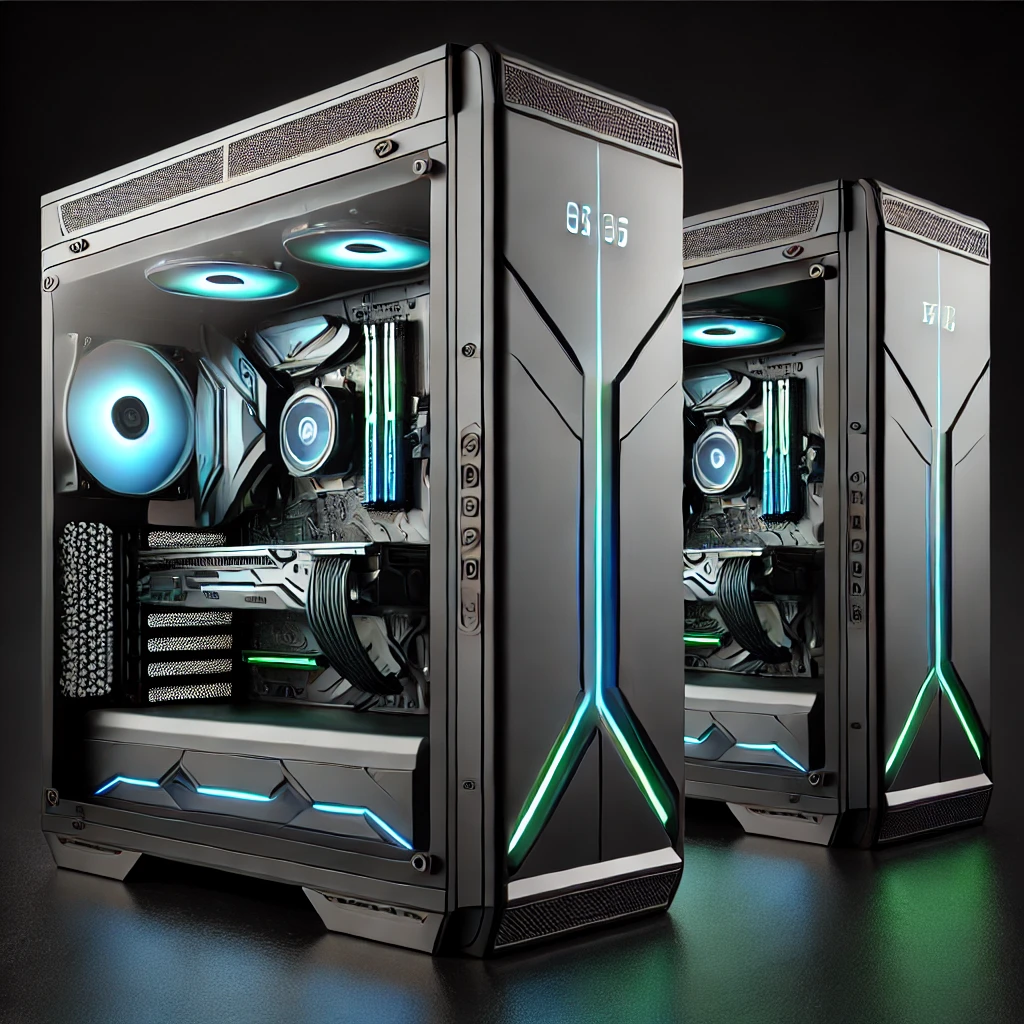
Building a custom computer case offers numerous benefits, from improved aesthetics to enhanced airflow and cooling performance. Unlike off-the-shelf cases, a custom PC case allows you to tailor every aspect of your build to meet your specific needs and preferences. This personalization not only enhances the overall look of your setup but also optimizes functionality, ensuring that your components have the space and airflow they require to perform at their best. How to Build a Custom Computer Case
Personalization is a vital aspect of PC building. With a custom case, you can incorporate unique design elements, such as RGB lighting, laser-etched logos, and thoughtful cable management solutions, reflecting your style and making your rig stand out. Additionally, customizing your case allows for better airflow management, crucial for maintaining optimal temperatures and extending the life of your hardware.
This article is designed for DIY enthusiasts, gamers, and tech-savvy individuals eager to embark on the rewarding journey of building their own custom computer case. Whether you’re a seasoned builder or a newcomer to the world of PC modding, this guide will provide you with the knowledge and tools necessary to create a stunning and functional case tailored to your needs.

Planning Your Custom Computer Case
1. Define your goals
Before embarking on your journey to build a custom computer case, it’s essential to clarify the purpose of your project. Are you aiming for a sleek design to enhance your gaming setup, or is functionality—like optimal cooling—your top priority? Understanding your goals will guide your design choices, helping you identify desired features such as size, material, and airflow. For instance, if you plan to house high-performance components, prioritizing airflow with ample ventilation will be crucial. Conversely, if aesthetics are your primary concern, you might lean toward premium materials like tempered glass or aluminum for a visually striking finish.
2. Research and Gather Inspiration
Once your goals are set, it’s time to explore various designs and styles. Online forums, social media platforms like Instagram and Pinterest, and PC building communities are excellent resources for gathering inspiration. Look for innovative builds that resonate with your vision and take note of design elements that you find appealing. Creating a mood board or Pinterest board can help you visualize your ideas, allowing you to curate images, color palettes, and styles that align with your custom PC case design. This step is crucial as it will not only spark creativity but also provide a clear direction for your project.
3. Choosing the Right Form Factor
The next step in planning your custom computer case is selecting the right form factor. Common options include ATX, Micro-ATX, and Mini-ITX, each catering to different needs and preferences. ATX is suitable for high-end gaming setups with multiple components, while Micro-ATX is a great balance between size and expandability. Mini-ITX, on the other hand, is perfect for compact builds, ideal for limited spaces. When determining the right size, consider the components you plan to use and your available workspace to ensure a seamless fit for your custom case.
Materials and Tools You Will Need
When building a custom computer case, selecting the right materials and tools is crucial for achieving the desired look and functionality. Selecting Materials involves a few common options: aluminum, acrylic, wood, and tempered glass. Aluminum is lightweight and durable, offering excellent heat dissipation, but it can be more expensive and may require special tools for cutting. Acrylic is a popular choice for its affordability and ease of work; it can be easily shaped and drilled, but it may scratch more easily than other materials. Wood provides a unique aesthetic and is relatively easy to manipulate, making it a favorite among DIY enthusiasts.
However, it may not be as durable as metal options and can be susceptible to warping. Tempered glass is an excellent choice for showcasing your components, providing a sleek look, but it’s heavier and more fragile than other materials.
In addition to choosing materials, you’ll need the right tools for the job in Essential Tools. Basic tools include saws (jigsaw or circular saw), drills, screwdrivers, and a measuring tape for accurate cuts. Safety equipment, such as gloves and goggles, is vital to protect yourself during the building process. For those looking to enhance their custom PC case with advanced features, optional tools like a CNC machine can offer precision cutting, while a 3D printer allows for custom parts and unique designs. A laser cutter is another fantastic option for creating intricate patterns or etching designs into your materials.
Finally, Safety Considerations cannot be overlooked. Always wear appropriate safety gear, including gloves, goggles, and masks, to protect yourself from dust, debris, and harmful materials while working. This commitment to safety will ensure a smooth and enjoyable building process as you create your custom computer case.
Designing Your Custom Case
Designing your custom computer case is a crucial step that lays the foundation for a successful build. Creating a Blueprint involves sketching or using digital design software to layout your case. Programs like SketchUp or AutoCAD can help you visualize the structure and dimensions. Ensure you take accurate measurements of all components, including the motherboard, GPU, and cooling systems. Proper dimensions will prevent issues during assembly and help ensure all parts fit snugly within the case.
Once you have a basic layout, it’s time for Prototyping Your Design. Using cardboard or low-cost materials allows you to create a physical model of your design without committing to expensive materials. This step is essential for assessing how your case will look and function. As you build the prototype, take note of any adjustments needed for fit and functionality. For instance, you may discover that the airflow is inadequate or that certain components don’t align correctly. By making these adjustments during the prototyping phase, you can refine your design and avoid costly mistakes in the final build.
Finally, it’s time to Finalize the Design. Consider essential factors such as airflow, cable management, and overall aesthetics. Ensure that there are enough ventilation openings for proper cooling, and plan the layout of cables to minimize clutter and enhance airflow. Additionally, think about how the design elements will contribute to the visual appeal of your custom PC case. With careful planning and attention to detail, your finalized design will not only function well but also reflect your personal style and preferences, making your custom PC truly unique.
Building the Frame
Building the frame is a crucial step in creating your custom computer case, as it provides the structure and support for all your components. 4.1 Cutting and Shaping the Material involves several essential steps that ensure your case is both functional and visually appealing.
Start by gathering your materials, which may include aluminum, acrylic, wood, or tempered glass, depending on your design preferences. Using your blueprint or digital design, mark the dimensions on the material. If you’re using wood or acrylic, a straight edge can help guide your cuts for accuracy. For aluminum or metal, a saw with a fine-tooth blade will yield cleaner cuts.
Once you have your pieces cut to size, it’s time to shape and finish the edges for a polished look. Begin with coarse sandpaper to smooth any rough edges left from cutting. This step is crucial, especially for materials like wood, where splinters can be a concern. Move to finer sandpaper to achieve a smoother finish, ensuring that all edges are free of sharpness that could cause injury during assembly.
For metal, you can use a file or a deburring tool to smooth edges further, which not only improves aesthetics but also helps with safety. If you’re working with acrylic, consider using a heat gun to gently bend it if needed, allowing for more intricate designs without compromising structural integrity.
Lastly, if your design includes corners or joints, consider using techniques like miter cuts or lap joints for a seamless appearance. This attention to detail will not only enhance the look of your custom PC case but will also provide a sturdy frame that can accommodate all your components securely. With careful cutting and shaping, your custom case will be well on its way to being a standout piece in your setup.

Finishing Touches and Aesthetic Enhancements
After constructing your custom computer case, the finishing touches can elevate its appearance and functionality significantly. Surface Finishing Techniques are crucial for achieving a polished look. You have several options to consider: painting, powder coating, or applying vinyl wraps. Painting allows for vibrant colors and patterns, while powder coating provides a durable, smooth finish. Vinyl wraps offer flexibility in design without the need for extensive surface preparation. Regardless of your choice, sanding and polishing the materials, whether wood or metal, is essential for a professional finish. Begin with coarse sandpaper to eliminate imperfections, gradually progressing to finer grits to achieve a sleek, glossy surface.
Incorporating Custom Design Elements adds a personal touch to your build. Consider adding laser-etched logos or custom panels to showcase your style. 3D printing can also be an excellent way to create unique components that enhance your case’s functionality and aesthetics. Furthermore, integrating LED lighting can dramatically improve the ambiance of your custom PC case. RGB strips or addressable LEDs can highlight specific features and provide mood lighting, making your setup visually stunning.
Finally, ensuring everything operates smoothly is vital during the Testing and Troubleshooting phase. Proper airflow is crucial to prevent overheating after assembly. Double-check fan placements and ensure there are no obstructions to airflow within the case. If you experience electrical issues or vibrations, inspect your wiring for loose connections and secure any components that may be rattling. By paying attention to these details, you can ensure that your custom computer case not only looks great but also functions efficiently, providing an optimal environment for your components.
Maintaining Your Custom Case
Maintaining your custom computer case is essential for ensuring optimal performance and longevity. 6.1 Cleaning and Dust Management are critical aspects of this maintenance. Dust can accumulate inside your case, affecting airflow and leading to overheating issues. To keep the interior and exterior of your case clean, develop a regular cleaning routine. Use a can of compressed air to blow out dust from components and vents, being careful not to touch sensitive parts. Wipe down surfaces with a microfiber cloth to prevent scratches while keeping the exterior looking sharp.
Installing dust filters on intake fans can significantly reduce the amount of dust entering the case, and these filters should be cleaned or replaced regularly to maintain their effectiveness. Scheduling a thorough cleaning every few months will help keep your custom PC case in top condition.
As technology continues to evolve, you may want to make enhancements to your system. 6.2 Upgrading Your Custom Case is essential for staying current with new hardware. When building your custom case, consider modular designs that allow for easy upgrades. For instance, incorporating removable panels can simplify access to the interior, making it easier to install new components. Additionally, designing your case with ample space for additional drives or cooling systems will provide flexibility for future upgrades. Modular components, such as mounting brackets for GPUs or storage devices, can also be easily replaced or upgraded without requiring extensive modifications to the case.
By planning for adaptability from the start, you can ensure your custom computer case remains relevant and functional, accommodating new technologies as they emerge.
In summary, regular maintenance and thoughtful design will enhance the usability and lifespan of your custom PC case, ensuring it continues to meet your needs as your setup evolves.

Conclusion
Building a custom computer case is a rewarding journey that allows you to express your creativity while enhancing your gaming or work experience. Throughout this guide, we’ve explored the essential steps involved in crafting your own unique PC case. From planning your design and selecting the right materials to assembling the frame and adding those all-important finishing touches, each phase is crucial to creating a case that not only looks great but also optimizes airflow and functionality.
As you embark on your custom PC case project, remember to embrace the process of personalization. Your case is a reflection of your style and preferences, whether you choose a sleek minimalist design or an elaborate setup featuring RGB lighting and custom panels. Don’t be afraid to experiment with different materials, colors, and layouts to create a build that truly stands out. The beauty of DIY projects is that they allow for endless possibilities, and every decision you make contributes to the overall aesthetic and performance of your custom build.
We encourage you to share your experiences and custom case designs with the community. Whether you’re a seasoned builder or just starting, your insights can inspire others on their journey. Consider posting photos of your completed case, detailing the challenges you faced, and the solutions you found along the way. Engaging with fellow enthusiasts can provide valuable feedback and ideas for future projects.
In conclusion, the process of building a custom computer case is not just about the end product; it’s about creativity, learning, and making something uniquely yours. Happy building!
Faq for how to build a custom computer case
1: What materials are best for building a custom computer case?
Answer: The best materials for a custom computer case depend on your preferences and needs. Common options include aluminum for its lightweight and durability, acrylic for its clear panels and aesthetic appeal, and wood for a unique, natural look. Tempered glass is also popular for showcasing components. Consider factors such as airflow, weight, and ease of fabrication when choosing your material.
2: How do I ensure proper airflow in my custom PC case?
Answer: To ensure proper airflow in your custom PC case, design the layout with clear intake and exhaust paths. Position fans to create positive pressure (more intake than exhaust) and use dust filters to keep the interior clean. Make sure there is adequate space around components for air circulation, and consider using larger or multiple fans for better cooling performance.
3: Do I need special tools to build a custom computer case?
Answer: While you can use basic tools like screwdrivers and a drill, certain tools can make the process easier and more precise. A jigsaw or band saw is useful for cutting materials, while a Dremel tool can help with detailed work and finishing edges. Safety gear, such as goggles and gloves, is also essential to ensure a safe working environment.
4: How can I add LED lighting to my custom computer case?
Answer: Adding LED lighting to your custom computer case can enhance its visual appeal. You can use LED strips that come with adhesive backing for easy installation. Many strips are RGB-enabled and can be controlled via software or remote. Plan your layout beforehand to highlight specific components or areas, and ensure that the power supply has adequate connections for the LED lighting.
5: What are some common mistakes to avoid when building a custom PC case?
Answer: Some common mistakes to avoid include not measuring components accurately, leading to poor fit and function. Also, neglecting airflow design can result in overheating. Make sure to plan cable management early to avoid clutter and ensure aesthetics. Finally, avoid rushing through the assembly process; take your time to ensure everything is securely fastened and connected properly.


