Building a gaming computer on a budget is an exciting and rewarding endeavor, especially for gamers who want to maximize their gaming experience without breaking the bank. With a budget of $1000, you can create a powerful gaming PC that delivers excellent performance for the latest titles. This article will guide you through the entire process, from selecting the best gaming computer components to assembling your DIY gaming PC. We’ll cover essential parts, including the CPU, GPU, RAM, and storage options, while offering tips on how to find the best deals. One of the most significant benefits of building your own gaming computer is the ability to customize it to your specific needs.
A custom setup is highly upgradeable, enabling you to enhance individual parts over time as technology advances or your gaming requirements change. Whether you’re a casual gamer or looking to play competitively, this guide will help you How to Build a Gaming Computer for Under $1000 that meets your needs and elevates your gaming experience.

Setting a Budget
When building a gaming computer for under $1000, setting a clear budget is essential to ensure you get the best components without overspending. A typical breakdown of the budget might allocate around $300 for the graphics processing unit (GPU), which is crucial for gaming performance, followed by approximately $200 for the central processing unit (CPU). Random access memory (RAM) can be budgeted at around $100, allowing for at least 16GB, which is optimal for most gaming needs. Additionally, aim to spend about $100 on storage, balancing between a solid-state drive (SSD) for speed and a hard disk drive (HDD) for larger capacity. The motherboard and power supply unit (PSU) should collectively cost around $150, while the computer case can be budgeted at approximately $50.
Sticking to this budget is crucial; overspending in one area can lead to compromises in others, potentially impacting your overall gaming experience. To help keep costs down, consider looking for sales, discounts, and refurbished parts. Many online retailers offer seasonal sales, which can significantly lower prices on components like GPUs and CPUs. Refurbished parts can also provide significant savings while still delivering reliable performance. Additionally, don’t forget to check local listings or online marketplaces for used components in good condition. By being resourceful and mindful of your spending, you can build an impressive budget gaming PC that fits within your $1000 limit while still providing a fantastic gaming experience.
Essential Components for a Gaming PC
When building a gaming computer for under $1000, selecting the right components is crucial for ensuring optimal performance. Central Processing Unit (CPU) is the brain of your gaming PC, and for budget builds, the AMD Ryzen 5 5600X or Intel Core i5-12400 are excellent choices, providing a good balance of price and performance. Ensure compatibility with your motherboard by checking the socket type and chipset specifications before purchasing.
The Graphics Processing Unit (GPU) significantly impacts gaming performance. For budget-friendly options, consider the NVIDIA GeForce GTX 1660 Super or AMD Radeon RX 6600. These GPUs deliver solid frame rates in most modern games while remaining affordable.
Next, the motherboard should have essential features such as the right form factor (ATX or micro-ATX), sufficient PCIe slots for future upgrades, and compatibility with your CPU. Recommended budget motherboards include the MSI B550-A PRO and ASUS TUF Gaming B550M-PLUS.
Random Access Memory (RAM) is another critical component, with 16GB of DDR4 RAM being ideal for gaming. Look for RAM with a speed of at least 3200MHz and ensure you use a dual-channel configuration to enhance memory bandwidth.
For storage solutions, consider the pros and cons of HDDs and SSDs. SSDs offer faster load times, while HDDs provide more storage for less money. A good combination for budget builds is a 500GB SSD for your operating system and key games, paired with a 1TB HDD for additional storage.
The Power Supply Unit (PSU) is vital for your system’s stability. Choose a reliable PSU with at least 80 Plus Bronze certification and a wattage rating of 500W to ensure you have enough power for your components. Lastly, select a computer case that offers good airflow and fits your components; the NZXT H510 and Cooler Master MasterBox Q300L are great budget-friendly options that balance size and aesthetics.
Optional Components
When building a gaming computer for under $1000, it’s essential to consider optional components that can enhance your overall experience. One of the most critical optional components is a cooling solution. Effective cooling is vital for maintaining optimal performance, especially during extended gaming sessions or demanding tasks. Overheating can lead to throttling, which may diminish your GPU and CPU performance, ultimately affecting your gaming experience. For budget-conscious builders, budget air coolers, such as the Cooler Master Hyper 212, provide excellent cooling at a reasonable price. If you’re looking for liquid cooling options, consider budget-friendly all-in-one (AIO) coolers like the Corsair Hydro Series H100i. While liquid coolers can be slightly more expensive, they often offer better thermal performance and quieter operation, which can be worth the investment if you aim for higher performance.
In addition to cooling solutions, investing in quality peripherals can significantly impact your gaming experience. For those on a budget, there are plenty of options for monitors, keyboards, and mice that won’t break the bank. Look for budget-friendly peripherals such as the Acer R240HY monitor for a crisp display or the Logitech G413 mechanical keyboard for responsive keystrokes. For a reliable gaming mouse, the Razer DeathAdder Essential offers excellent performance without a hefty price tag. Quality peripherals enhance gameplay by providing better responsiveness, comfort, and immersion. A good monitor with a higher refresh rate can deliver smoother visuals, while a responsive keyboard and mouse can improve your overall control in games.
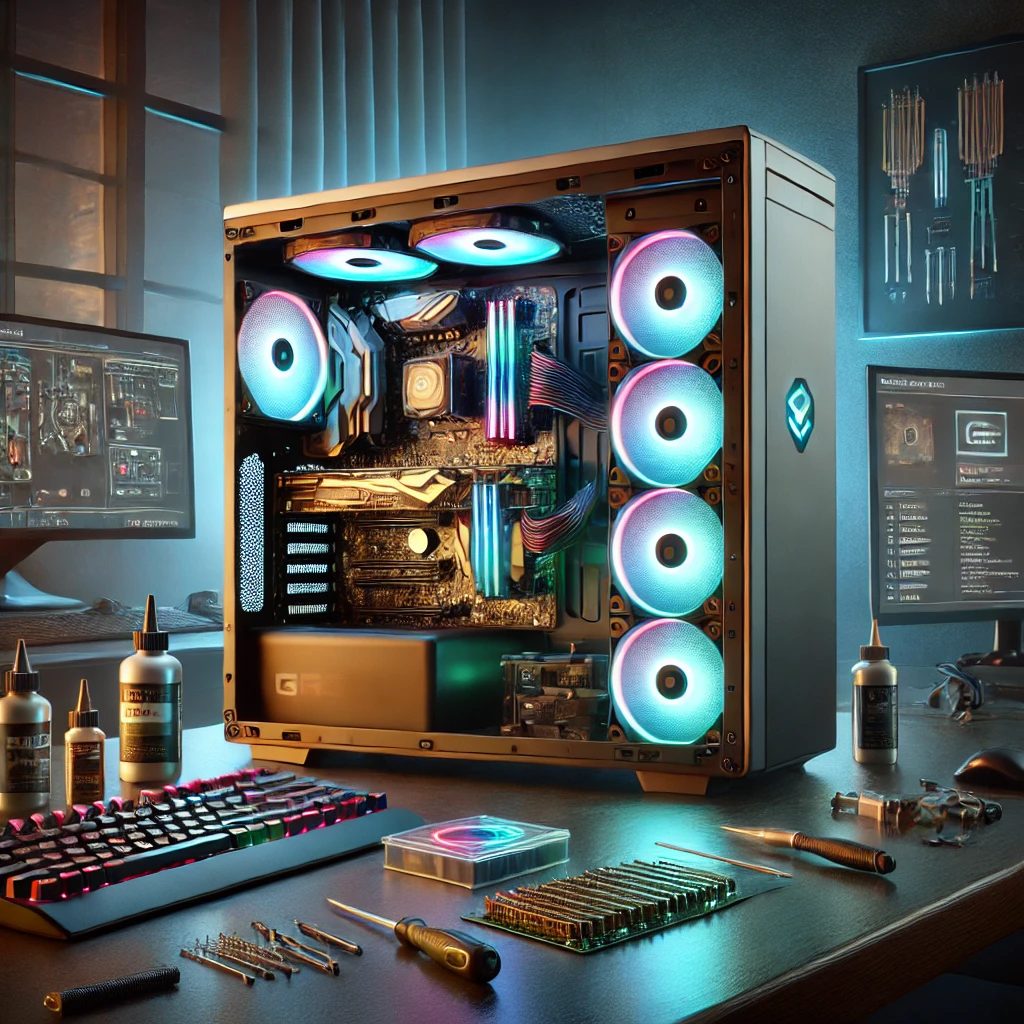
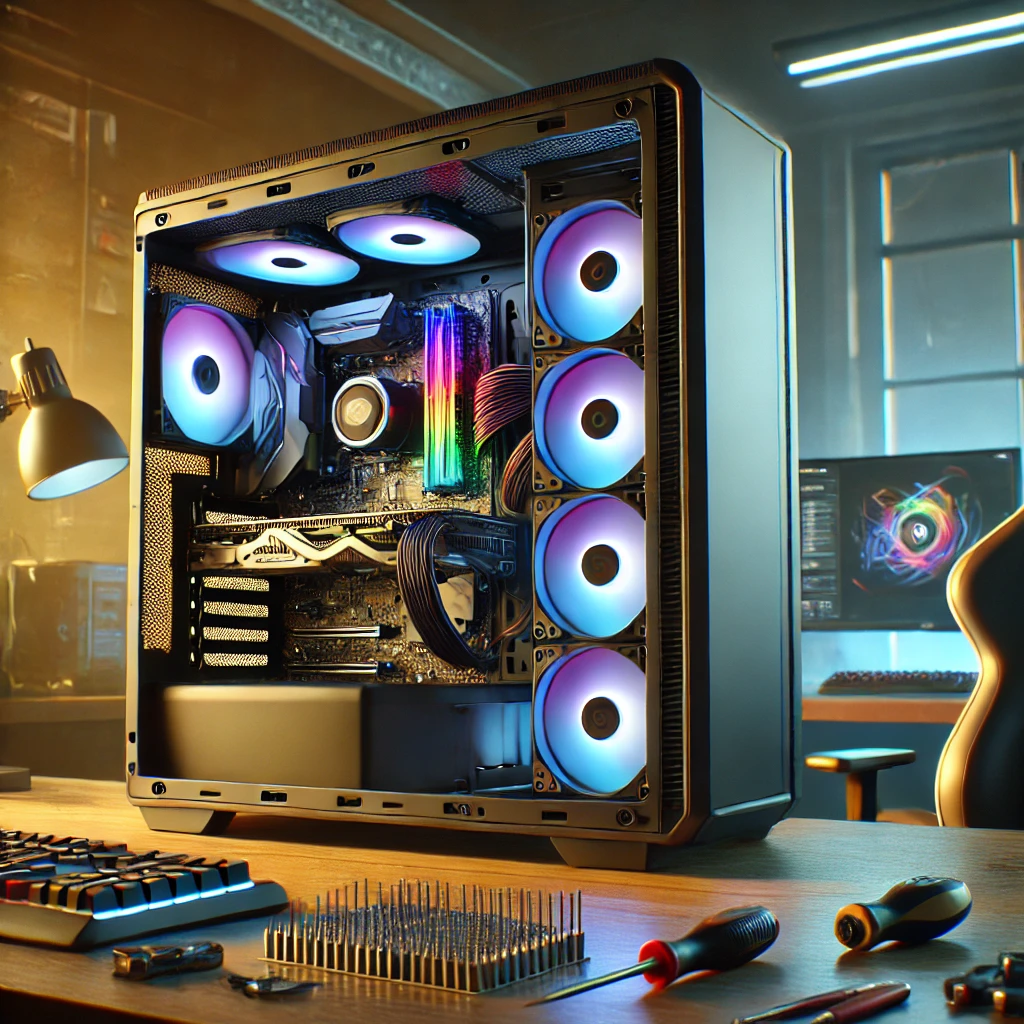
Building the Gaming Computer
Building a gaming computer can be an exciting and rewarding experience, and having the right tools is essential for a smooth assembly process. At a minimum, you will need a Phillips-head screwdriver for securing components and screws. An anti-static wrist strap is also recommended to prevent static electricity from damaging sensitive parts. A pair of tweezers can help with handling small screws and connectors, while a flashlight can assist in illuminating tight spaces within the case.
Once you have your tools ready, follow this step-by-step assembly guide. Start by preparing your case; remove the side panels to access the interior. Install the motherboard by aligning it with the standoffs in the case and securing it with screws. Next, install the CPU by gently lifting the lever on the socket, placing the CPU correctly, and locking it in place. Apply thermal paste if necessary, and then attach the CPU cooler according to the manufacturer’s instructions.
After securing the CPU and cooler, install the RAM by opening the clips on the motherboard’s RAM slots and firmly pressing the sticks into place until they click. Then, install the GPU by inserting it into the appropriate PCIe slot on the motherboard, securing it with screws. Connect your storage devices, whether an SSD or HDD, to the motherboard and power supply. Ensure that all cables are connected properly.
Finally, tidy up the internal cables for optimal airflow and aesthetics. Once everything is assembled, it’s time for the first boot. Power on the system and enter the BIOS to ensure all components are recognized. Adjust basic settings such as boot order and fan speeds to optimize performance before installing your operating system. Following these steps will set you up for a successful gaming experience in your newly built PC.
Installing the Operating System and Drivers
Once you’ve built your gaming PC under $1000, the next crucial step is installing the operating system (OS) and necessary drivers. When choosing an operating system, you’ll typically decide between Windows and Linux. Windows is the most popular choice for gamers due to its extensive compatibility with games and gaming software. It offers a user-friendly interface and supports a wide range of hardware. However, if you’re looking for a free alternative, Linux can be a viable option, particularly for those interested in open-source software. While many games are now available for Linux, the selection isn’t as broad as what you’ll find on Windows, so consider your gaming preferences before making a decision.
Once you’ve chosen your operating system, installing it is a straightforward process. You’ll need a bootable USB drive with the OS installer. Simply plug the USB drive into your newly built gaming PC, restart it, and follow the on-screen prompts to install the OS. After the OS installation is complete, it’s essential to install necessary drivers, which help your hardware components communicate effectively with the operating system. This includes drivers for your GPU, motherboard, and peripherals. You can typically find these drivers on the manufacturer’s website or through a dedicated installation CD.
Finally, don’t underestimate the importance of regular updates. Keeping your operating system and drivers updated is vital for performance, security, and compatibility with new games. Regular updates can help improve gaming performance, fix bugs, and ensure your system is running smoothly. By prioritizing OS and driver installation, you set a solid foundation for an optimized gaming experience on your new gaming computer.
Performance Optimization
Once you’ve built your gaming computer for under $1000, the next step is to optimize its performance to ensure the best gaming experience. Adjusting in-game settings is one of the simplest ways to enhance performance. Most games offer a variety of graphical options, such as resolution, texture quality, and shadow details. Lowering these settings can significantly improve frame rates, especially in more demanding titles. It’s advisable to find a balance that retains visual quality while maximizing performance, so don’t hesitate to experiment with different settings until you find the sweet spot.
For those who are a bit more adventurous, overclocking options can further boost your gaming performance. Overclocking allows you to increase the clock speed of your CPU or GPU beyond its factory settings, resulting in better performance. However, this should be approached with caution, as it can lead to overheating and stability issues if not done correctly. Be sure to invest in adequate cooling solutions, such as aftermarket coolers, to keep temperatures in check while you push your hardware to its limits.
Regular maintenance is crucial for sustaining your gaming PC’s performance over time. Dusting your computer every few months can prevent overheating and improve airflow, ensuring that components function optimally. Additionally, keeping your operating system and drivers updated is essential. Software updates often include performance enhancements and bug fixes that can improve game stability and compatibility. By following these performance optimization tips and committing to regular maintenance, you’ll ensure that your budget gaming PC continues to deliver an enjoyable and immersive gaming experience for years to come.
Conclusion
In conclusion, building a gaming computer for under $1000 is not only achievable but also a rewarding experience that allows you to customize your setup to meet your specific gaming needs. We’ve covered essential components such as the best budget CPU and GPU, as well as storage options and cooling solutions, all crucial for maximizing performance without breaking the bank. By carefully selecting your components and following a step-by-step assembly guide, you can create a powerful gaming PC that rivals more expensive models. Remember, the key to a successful build lies in thorough research and making informed decisions based on your gaming preferences. We encourage you to share your experiences, ask questions, and seek advice from fellow enthusiasts in gaming communities. Building your own DIY gaming PC not only enhances your gaming experience but also deepens your understanding of computer hardware. So gather your components, follow the tips provided, and embark on this exciting journey of creating a budget-friendly gaming rig that you can be proud of!
Frequently asked questions (FAQs) for How to Build a Gaming Computer for Under $1000:
1. Can I really build a gaming PC for under $1000?
Yes, it is entirely possible to build a gaming PC for under $1000. By carefully selecting budget-friendly components such as a solid CPU, GPU, and other essential parts, you can create a capable gaming rig that performs well without exceeding your budget.
2. What are the most important components for a budget gaming PC?
The most critical components include the CPU (processor), GPU (graphics card), RAM (memory), motherboard, storage (SSD or HDD), power supply unit (PSU), and case. Prioritizing these parts will ensure that your gaming PC runs smoothly and efficiently.
3. Should I buy new or used components for my gaming PC build?
While new components often come with warranties and the latest technology, buying used or refurbished parts can help you stay within budget. Just be sure to purchase from reputable sources and check for compatibility with your other components.
4. How do I choose the best GPU for gaming on a budget?
When selecting a budget GPU, look for options that provide good performance-to-price ratios. Check benchmark comparisons and reviews for the latest models that fit your budget. Prioritize GPUs that offer decent frame rates at your desired resolution and settings.
5. Is it difficult to build a gaming PC for the first time?
Building a gaming PC can be a bit challenging for beginners, but it’s a manageable task with the right resources. Follow a detailed guide, watch tutorial videos, and take your time during the assembly process. Many online communities can provide support and answer any questions you may have along the way.