Upgrading your gaming PC is an exciting venture that not only breathes new life into your system but significantly enhances your gaming experience. Whether you’re a casual player or a competitive gamer, the right upgrades can transform your setup, enabling smoother gameplay, faster load times, and stunning graphics. This improvement is vital as games become increasingly complex and demanding, pushing the limits of older hardware. How to Upgrade Your Gaming PC: Essential Tips
Common signs that your system might need an upgrade include slow game load times, which can pull you out of the gaming immersion and frustrate your experience. If you’re noticing lag during gameplay or your settings have to be drastically reduced to maintain a playable frame rate, it’s time to consider upgrading components like the GPU or CPU. Overheating is another red flag, often indicating inadequate cooling or that your hardware is working too hard to keep up with gaming demands. This can lead to throttling, where your PC intentionally slows down performance to reduce heat output, impacting your game’s performance.
Recognizing these signs early can save you from a subpar gaming experience and help prioritize which upgrades will most effectively boost your system’s performance.
Understanding Your Current System
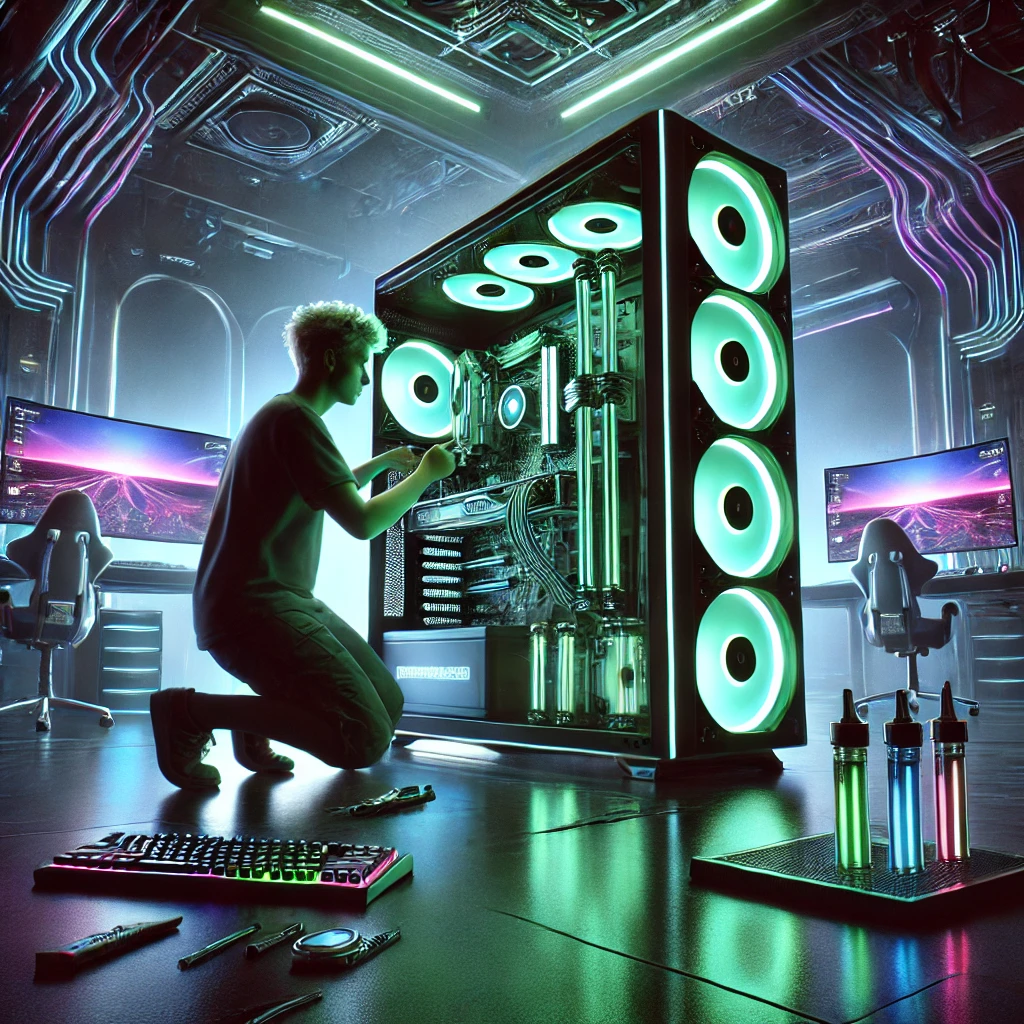
Before diving into upgrades for your gaming PC, it’s crucial to assess your current system’s capabilities to identify which components are holding you back. A thorough assessment helps you make informed decisions, ensuring you spend your budget on upgrades that offer the most significant performance improvements.
Assessing Your PC’s Capabilities
Start by looking at your PC’s core components: the CPU, GPU, RAM, and storage. Check the specifications of each component and compare them against the minimum and recommended requirements for the games you play most. This comparison will help you understand whether your current hardware meets, exceeds, or falls short of these requirements.
Tools and Software for Benchmarking
To objectively measure your system’s performance, use benchmarking software. Tools like 3DMark, PCMark, or UserBenchmark can run intensive tests that simulate video games and graphical tasks, providing you with scores that reflect your system’s capabilities. These tools can also compare your results with other systems, helping you see where your setup stands globally.
Identifying Bottlenecks and Components That Need Urgent Upgrades
A bottleneck occurs when one component significantly underperforms, limiting the effectiveness of other parts of your system. For example, a high-end GPU paired with an outdated CPU can prevent your system from reaching its full potential, particularly in CPU-intensive games.
To identify bottlenecks, monitor your CPU and GPU usage while gaming. If your CPU is at or near 100% usage while your GPU is underutilized, it’s a sign that your CPU needs upgrading. Similarly, if your game loads slowly despite having a powerful CPU and GPU, your hard drive might be the bottleneck, and switching to an SSD would greatly benefit your system.
Setting a Budget
Upgrading your gaming PC can be an exciting endeavor, but it’s essential to set a realistic budget to avoid overspending. Understanding how much you’re willing to invest in enhancing your gaming experience will guide your decisions and help you prioritize which components to upgrade first.
When considering upgrades, the balance between cost and performance is crucial. It’s tempting to aim for top-tier components like the latest Best GPU for Gaming 2024 or the fastest Gaming CPU Upgrades. However, these may not always offer the best value for your money. Evaluate how each component will boost your PC’s performance—sometimes, mid-range parts can yield the most significant improvements without the hefty price tag.
To maximize your budget, consider these tips:
Shop during sales: Key shopping periods like Black Friday, Cyber Monday, and back-to-school seasons often bring substantial discounts on electronics and PC components.
Buy refurbished: Many manufacturers and retailers sell refurbished items that are just as reliable as new ones but at a fraction of the cost. These can include anything from graphics cards and CPUs to SSDs and RAM.
Consider previous-generation hardware: When new tech is released, previous models usually drop in price. These components are often still excellent performers, especially for gaming.
Bundle deals: Some retailers offer discounts when you buy several components together. This can be a great way to save if you plan multiple upgrades.
Setting a strategic budget and shopping smart can make the difference between a satisfactory upgrade and a transformative one. By weighing the cost against potential gaming performance gains, you can ensure that every dollar spent contributes to a more immersive gaming experience.
Upgrading for Performance: Key Components
When upgrading your gaming PC, focusing on key components like the graphics card, processor, memory, and storage can drastically improve your gaming experience. Here’s what you need to know about each:
Graphics Card (GPU): The GPU is the heart of your gaming setup. Latest models such as the NVIDIA GeForce RTX 4080 or the AMD Radeon RX 7900 XT offer substantial improvements in frame rates and graphics quality. When choosing a GPU, consider the types of games you play, the resolutions you aim for, and compatibility with your motherboard and power supply. High-end GPUs require a robust power supply and enough physical space in your case.
Processor (CPU): The CPU handles everything from gaming performance to your system’s ability to multitask. Top CPUs for gaming include the AMD Ryzen 9 7950X and Intel Core i9-13900K, which provide high core counts and exceptional multi-threading capabilities. It’s crucial to maintain a balance between your CPU and GPU to avoid bottlenecks where one component limits the performance of the other.
Memory (RAM): For gaming in 2024, 16 GB of RAM is the minimum you should aim for, with 32 GB being ideal for heavier loads and future-proofing. Faster RAM speeds can also help boost performance, particularly in CPU-intensive games. Check your motherboard’s specifications to ensure compatibility with higher-speed RAM.
Storage: Swapping out a traditional hard disk drive (HDD) for a solid-state drive (SSD) can dramatically reduce game load times. For the best performance, consider an NVMe SSD, which connects directly to the motherboard via M.2 slots to offer the fastest data transfer speeds available. This upgrade is particularly noticeable in open-world games where the game continuously loads textures and environments.
By focusing on these components, you can ensure your gaming PC will deliver a superior gaming experience, keeping pace with the latest game releases and technological advancements.
Enhancing the Gaming Experience
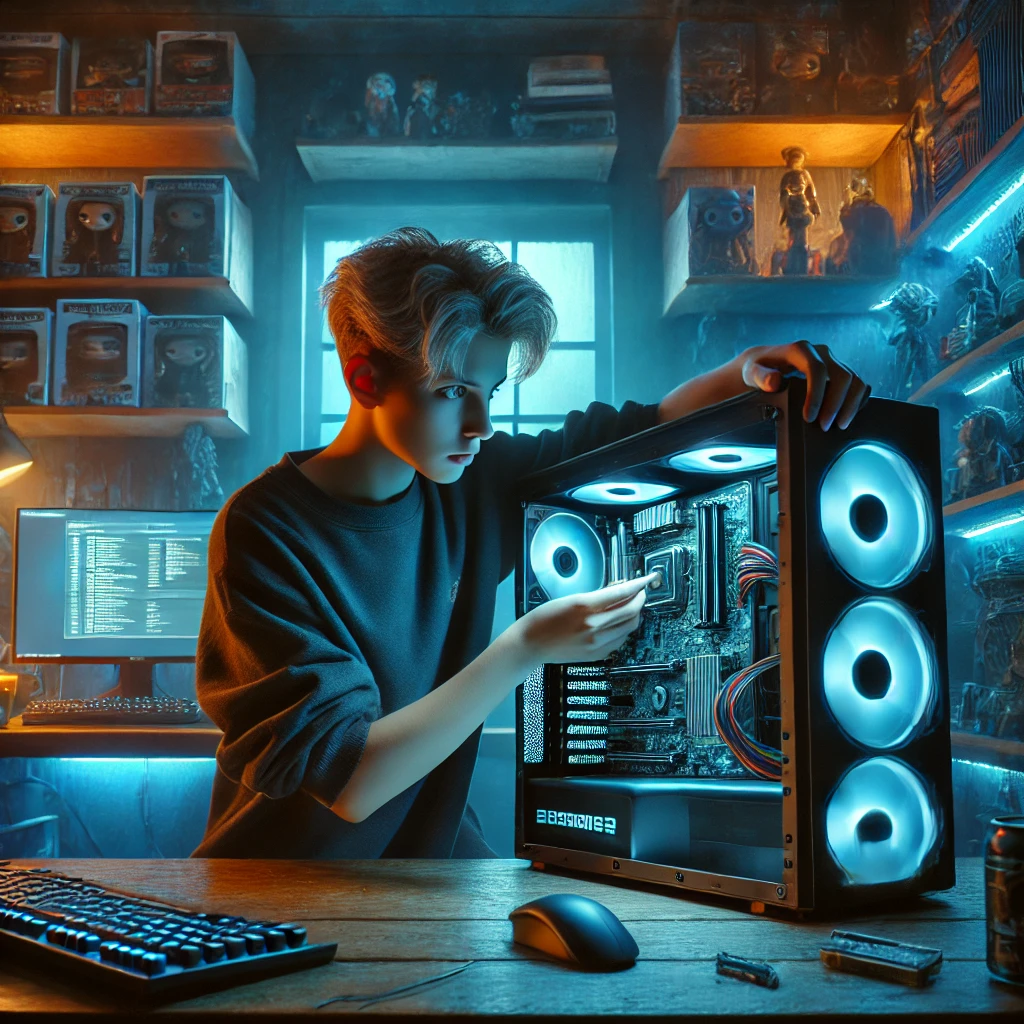
When upgrading your gaming PC, focusing on the core components like the CPU and GPU is crucial, but don’t overlook the peripherals and other hardware that can significantly enhance your gaming experience. Here’s how you can improve the visuals, audio, and maintain the efficiency of your system through optimal cooling.
Monitors: Importance of Resolution and Refresh Rate
The monitor is your window to the virtual world, making its quality paramount. High resolution and refresh rate are key for a visually immersive and smooth gaming experience. A resolution of at least 1080p is standard, but 1440p or 4K provides sharper images and finer details. Meanwhile, a higher refresh rate (measured in Hz) ensures smoother motion, with 144Hz being a popular choice among gamers for its fluid gameplay. Upgrading to a monitor that supports both high resolution and refresh rate can transform your gaming sessions, making every scene crisp and every movement fluid.
Sound Cards and Speakers: How Audio Quality Enhances Gaming
Audio is a critical but often underestimated aspect of gaming. A dedicated sound card and a quality set of speakers or a headset can elevate your gaming experience by providing clearer and more immersive audio. Whether it’s the subtle footsteps of an enemy or the explosive roar of a battlefield, good audio quality allows for better spatial awareness and a more engaging gaming environment.
Cooling Systems: Types of Cooling, Preventing Thermal Throttling
Effective cooling is essential to maintain optimal performance and prevent thermal throttling, which occurs when your PC overheats and the CPU or GPU reduces speed to cool down. There are two main types of cooling systems: air cooling and liquid cooling. Air cooling, which includes fans and heatsinks, is sufficient for most setups, but for high-performance gaming PCs, particularly those with overclocked components, liquid cooling systems are ideal. They not only offer superior cooling efficiency but also run quieter than their air-cooled counterparts. Ensuring your system has adequate cooling will keep your components running at their best during intense gaming sessions.
By upgrading your monitor, sound setup, and cooling system, you not only enhance your gaming experience but also protect your investment in high-end gaming hardware.
Installation Tips
Upgrading your gaming PC can be a rewarding DIY project. Here’s how to install key components such as the GPU, CPU, RAM, and SSD, while ensuring you avoid common pitfalls.
Graphics Card (GPU) Installation:
1. Preparation: Start by grounding yourself to avoid static damage to the GPU. Power down your system and disconnect it from the outlet.
2. Installation: Open the PC case. Locate the PCIe x16 slot on your motherboard (it’s usually the slot closest to the CPU). Remove the existing GPU if necessary. Align the new GPU with the slot, and gently press it into place until the locking clip snaps.
3. Power and Testing: Connect any necessary PCIe power connectors from the power supply to the GPU. Close the case, reconnect power, and boot up. Install the latest drivers for the GPU to ensure optimal performance.
Processor (CPU) Upgrade:
1. Handling: Handle the CPU by the edges to avoid damage. Ensure no pins are bent on a pin-grid array (PGA) socket.
2. Installation: Lift the CPU socket’s lever. Align the CPU with the socket, matching the triangle marked on the corner of the CPU with the socket. Gently place the CPU inside without force.
3. Cooling: Apply thermal paste to the top of the CPU (a pea-sized amount). Place the cooler on top, securing it according to the manufacturer’s instructions.
Memory (RAM) Upgrade:
1. Slot Check: Check your motherboard manual for the correct RAM slots to use for optimal performance.
2. Installation: Open the clips at the ends of the RAM slot. Align the RAM module with the slot, noting the notch position. Press down firmly until the clips snap into place.
Solid State Drive (SSD) Installation:
1. Placement: Determine whether your SSD is SATA or NVMe. SATA SSDs connect via a SATA cable to the motherboard and power supply. NVMe SSDs slot directly into an M.2 connector on the motherboard.
2. Secure: For SATA SSDs, secure the drive in a drive bay. For NVMe, insert the SSD into the slot and secure it with a screw.
Safety Tips and Common Mistakes:
Static Electricity: Always ground yourself with an anti-static wristband or by touching a metal part of the case.
Force: Never force components into their slots, as this can damage both the components and the motherboard.
Thermal Paste: When applying thermal paste, less is more. Excessive paste can lead to poor heat dissipation.
Software Updates: After installation, ensure your system’s BIOS and drivers are updated for best performance and stability.
By following these step-by-step guides and adhering to safety protocols, you can enhance your gaming PC’s performance with minimal risk.
Optimizing Your New Setup
Once you’ve upgraded your gaming PC, the next step is to ensure everything is running smoothly and efficiently. Here’s how you can optimize your new setup to maximize gaming performance:
Software Updates and Drivers Installation
Start by updating your operating system to the latest version. This ensures better security and often better compatibility with new hardware. Next, install the latest drivers for your new components, particularly your GPU and motherboard. Drivers are crucial as they can dramatically affect performance and stability. Websites of hardware manufacturers like NVIDIA, AMD, and Intel regularly update their drivers with performance enhancements and bug fixes.
Tweaking Settings for Optimal Performance
Adjusting the settings in your gaming PC can further enhance its capabilities. In the BIOS, ensure that your RAM is running at its intended speed, especially if you’ve installed high-speed memory. In Windows, adjust the power settings to ‘High Performance’ to prevent the system from throttling back power to your CPU or GPU. For gamers, it’s beneficial to tweak in-game graphics settings. Starting with the resolution and texture quality, adjust to find the perfect balance between visual quality and frame rates. Tools like NVIDIA’s GeForce Experience and AMD’s Radeon Software can automatically optimize these settings for your hardware.
Overclocking Basics for CPUs and GPUs
Overclocking can push your hardware beyond its factory speed settings, offering a free boost in performance. However, it’s essential to proceed with caution to avoid overheating or damaging components. Begin by slightly increasing the clock speed and testing stability with stress-testing tools like Prime95 or FurMark. Always monitor temperatures to ensure they remain within safe limits. Many motherboards offer easy-to-use overclocking utilities that help manage these adjustments more safely.
By following these steps to update software, tweak settings, and overclock carefully, you can squeeze every bit of performance from your gaming PC upgrades, ensuring an optimal gaming experience.
Future-proofing Your Gaming PC
When upgrading your gaming rig, it’s crucial to think ahead to ensure your investment remains powerful and relevant for future games and software. Here’s how to select components that will extend the lifespan of your setup and provide the best gaming experience over time.
1. Tips on Choosing Components That Will Last: Selecting components known for longevity and robust performance is vital for future-proofing your gaming PC. Opt for the latest generation CPUs and GPUs as they tend to have extended support for new technologies and software updates. For example, choosing a GPU with ray tracing capabilities can be a wise decision, as more games are starting to utilize this technology. Additionally, consider the manufacturer’s reputation and read reviews to gauge the reliability and performance of their products over time.
2. The Importance of Scalability in Component Selection: Scalability should be a key factor in your component selection strategy. This means choosing a motherboard that supports upgrades, such as multiple GPU slots, ample RAM slots, and the latest PCIe standards. Ensure that your power supply has enough wattage to handle future upgrades, and opt for a case with enough space to accommodate additional storage or cooling solutions. This approach not only enhances the current performance but also ensures you can upgrade essential components easily without a complete system overhaul.
3. When to Consider a Full System Upgrade Instead of Incremental Updates: While incremental upgrades can extend the life of your PC, there comes a point when a full system upgrade is more cost-effective and technologically sound. Consider a full upgrade if your current system architecture does not support the latest hardware advancements, such as DDR5 RAM or PCIe 4.0. Moreover, if you find yourself continuously bottlenecked by older components, it may be more economical in the long run to invest in a new build that is modern and fully integrated.
By focusing on future-proofing during your upgrades, you not only enhance your current gaming performance but also ensure your system remains a top contender in the rapidly evolving world of PC gaming.
Conclusion
Upgrading your gaming PC is not just about pushing for the highest specs; it’s about strategically enhancing your system to ensure a seamless and immersive gaming experience. Investing in the right components, like a high-performance GPU or a faster SSD, can significantly boost your PC’s capabilities, providing not only improved frame rates but also quicker load times and a more stable performance across all your favorite titles.
However, the key to a successful upgrade lies in choosing components that offer both performance and longevity. Opt for upgrades that not only meet your current gaming needs but will also remain relevant as new technologies emerge. This approach ensures you get the most value out of your investments, sparing you the need for frequent replacements and adjustments.
We invite you to share your own gaming PC upgrade stories in the comments below. Whether it’s a simple RAM upgrade or a full system overhaul, your experiences can inspire and guide fellow gamers looking to enhance their setups. What upgrades have you made recently, and how have they transformed your gaming experience? Let’s build a community where we can all learn from each other’s successes and challenges in the world of PC gaming.
FAQs for How to Upgrade Your Gaming PC: Essential Tips
1. What’s the most cost-effective upgrade I can make to my gaming PC?
Upgrading your graphics card typically offers the most noticeable improvement in gaming performance. However, adding an SSD can significantly decrease load times and enhance overall system responsiveness for a lower cost.
2. How do I know if my current PC components are compatible with new upgrades?
Use tools like PCPartPicker to check compatibility of new components with your existing system. It’s also important to refer to your motherboard’s specifications to ensure compatibility with new CPUs, RAM, and GPUs.
3. Is it better to upgrade my PC piece by piece or build a new one?
If your current system is more than five years old, it might be more cost-effective to build a new one. For newer systems, upgrading piece by piece usually suffices to keep up with current gaming demands.
4. How can I ensure my upgraded PC doesn’t overheat?
Consider upgrading your cooling system with better fans or a dedicated liquid cooling solution, especially if you plan on overclocking your CPU or GPU. Ensuring good airflow in your PC case is also crucial.
5. Can I upgrade my PC myself or should I seek professional help?
If you’re comfortable with basic computer operations and follow safety precautions, you can perform most upgrades yourself using online tutorials and guides. For more complex upgrades, like liquid cooling installations, you might prefer professional assistance to avoid damaging components.
Including these FAQs in your blog post can provide valuable information to your readers, helping them make more informed decisions about upgrading their gaming PCs.


